Steelhead fishing is an addiction. It keeps you up at night. It causes you to daydream at work. It is something that you can’t explain; you have to experience it. We in Pennsylvania have a world class fisherie in the great lakes system and some of us have never relished in it’s beauty. It beckons me every fall, through the winter and into the spring. It calls my name, and I answer it as often as possible. The thrill of an 8lb fish, that feels like a freight train on the end of your line, in often freezing cold conditions, is truly amazing.
 I
write to you today as an addict, and as I quote flipnfly, “one who
doesn’t want an intervention”. Here below is my recipe for a simple
single yarn egg pattern. When the steelhead are in full spawn, it is
hard for them to turn down a good looking egg. Yet in my experience I
have added a few steps to make this fly more durable. During a good
steelhead run, the thrill is also landing one fish quickly so you can
get onto the next. It can be non-stop action, so having to tie on
another fly because yours has been destroyed, or torn off the hook may
cost you your next fish. I hope that my experience and slight changes
may bring you more fish to hand.
I
write to you today as an addict, and as I quote flipnfly, “one who
doesn’t want an intervention”. Here below is my recipe for a simple
single yarn egg pattern. When the steelhead are in full spawn, it is
hard for them to turn down a good looking egg. Yet in my experience I
have added a few steps to make this fly more durable. During a good
steelhead run, the thrill is also landing one fish quickly so you can
get onto the next. It can be non-stop action, so having to tie on
another fly because yours has been destroyed, or torn off the hook may
cost you your next fish. I hope that my experience and slight changes
may bring you more fish to hand.Materials:
Sz 10 dai riki scud hook (I use sizes 10-18 typically, but love a big egg)
210 denier white thread
Blue egg yarn
Pink egg yarn
Finishing cement
The first step is to wrap the entire length of the hook with thread and stop directly above the point of the hook. Proceed by putting a layer of finishing cement over all of this thread. Wait untill it dries before moving on. I found that I was having my eggs slide around on my hook and eventually falling off. This made them more secure.

Next is to tie on your blue egg yarn. (any color combination will do) The trick with all egg patterns like this, is to add as much tension as possible to get the egg to splay outward and get that round egg look. This is why I use 210 thread, so I can get the added pressure needed for a good egg. I usually use 2 wraps of thread for each layer. Too many wraps gives it too much thread bulk.

After this I put a small amount of pink yarn in. When finished, this will produce the “blood dot” that is pretty typical of trout and salmon eggs.

My next 2 steps are to double the blue yarn over the top of the pink so as to cover it up completely.


This next step is also to help make the fly more durable. I pull the yarn up as shown with my fingers and wrap the thread 3-4 times around the base of the yarn, by the hook, kind of like a parachute. This make sure the yarn is secure in that exact spot and also helps against the slippage. I then advance the thread to the eye, whip finish and cement.

The next step is impossible to photograph, because it needs both hands. I pinch my yarn, as in the picture above, and simply take some sharp scissors and give it a hair cut. My advice is to pinch tight, this will give you the look that you want. You can trim it a bit here and there, but if done right it will look like an egg with one cut.

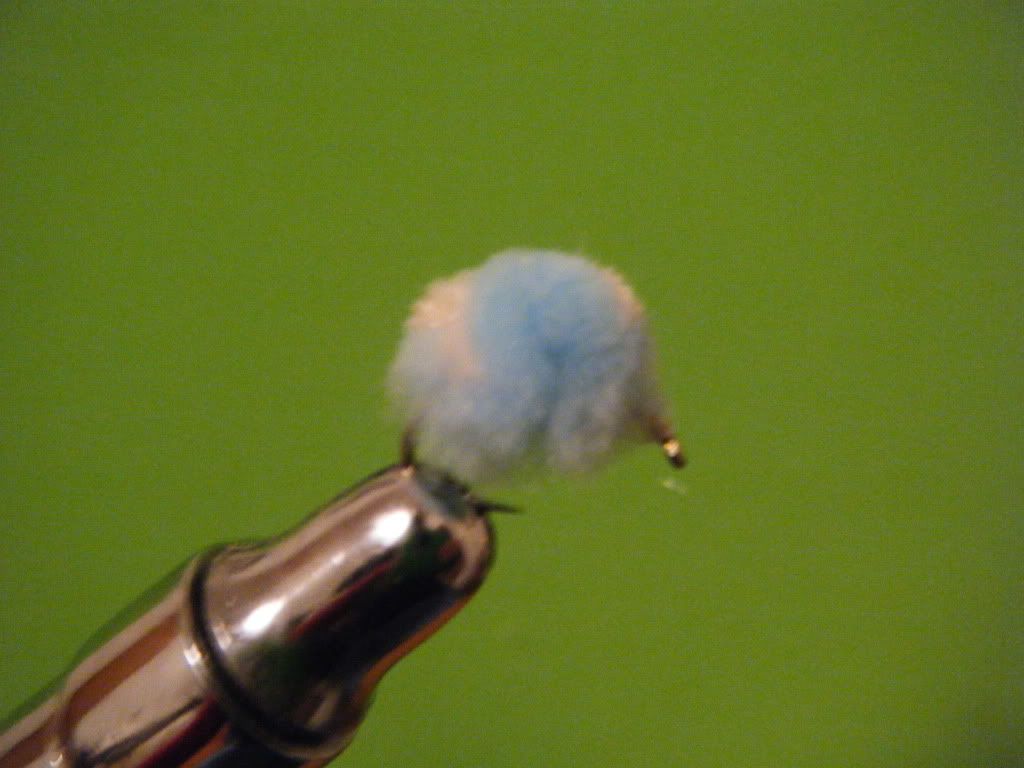
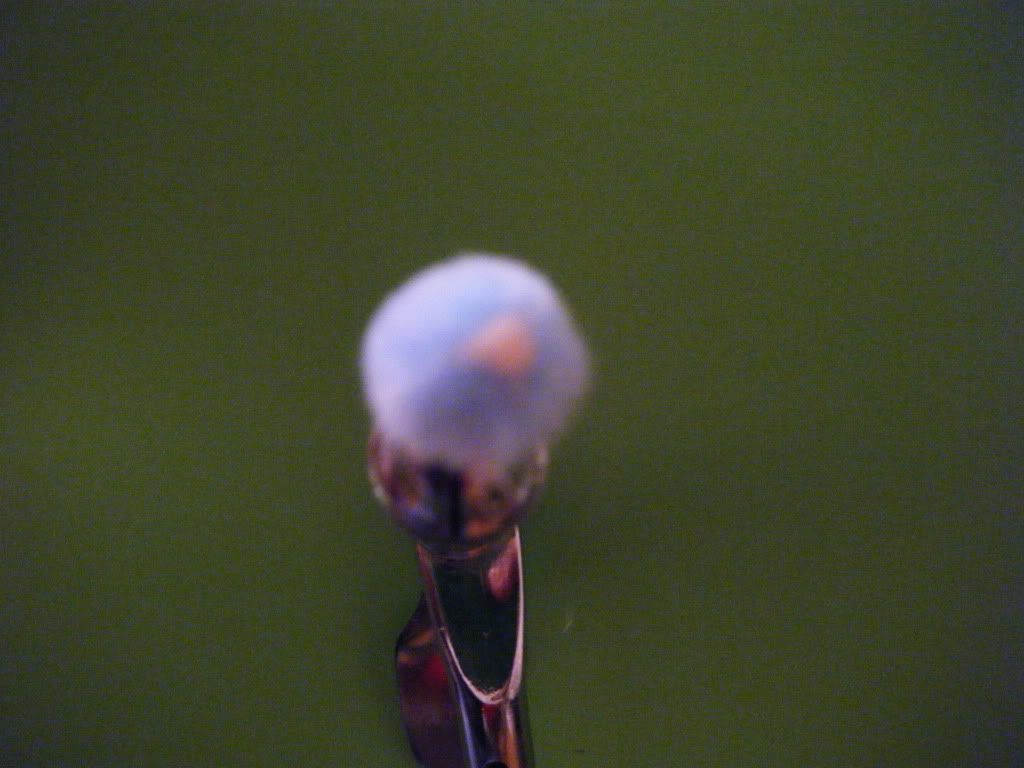
Here is the finished product, with the visible blood dot in the 2nd picture.


Nice tie.
ReplyDelete